How to Access and Install Verified Community Nodes in n8n Cloud
Accessing Verified Community Nodes
To access verified community nodes in n8n Cloud, follow these steps:
Open the Canvas/Workflow where you want to add the node and click the nodes panel by pressing '+' or 'Tab'.
Search for the node you're looking for.
If there's a matching verified community node, you'll see a "More from the community" section at the bottom of the panel or an available node with a check mark.
Ex.Click on the node to see the install option for it.
Ex.

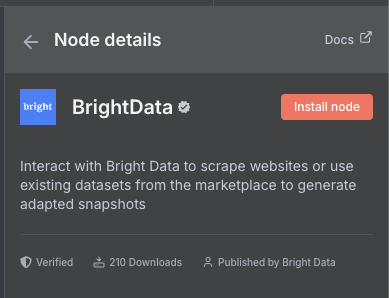
Note: Only workspace owners can install community nodes, but once installed, all workspace members can use them in their workflows.
Troubleshooting
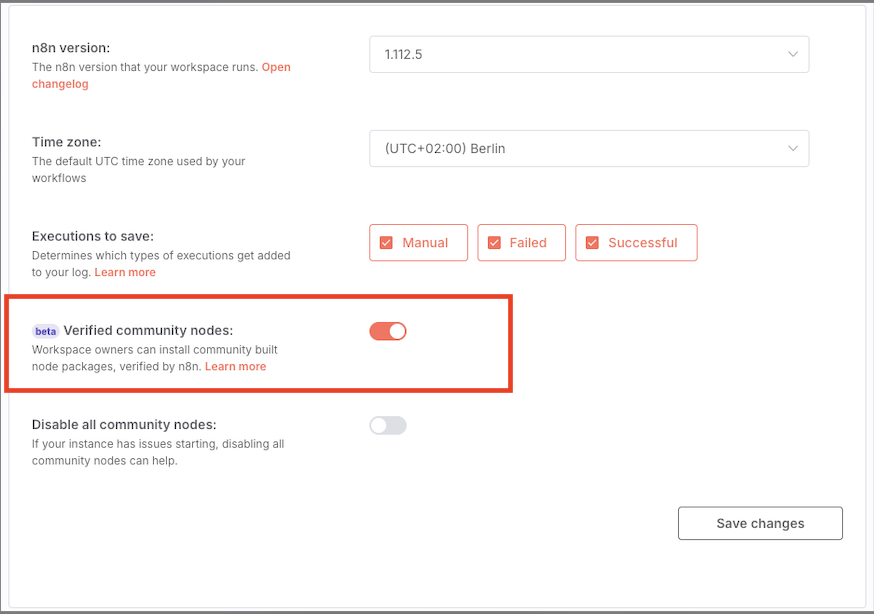
If you are unable to enable the "Verified Community Nodes" feature, ensure the following:
You are the workspace owner.
You have activated community nodes on the admin panel.
You are running a compatible version of n8n (e.g., v1.94.0 or later).
Additional Resources
If you are having any issues accessing the Admin Dashboard, check this article: How to access the n8n Admin Dashboard.
For a step-by-step visual guide, watch this tutorial: The Easiest Way to Use Community Nodes in n8n.
More detailed instructions can be found in our documentation: Install verified community nodes.